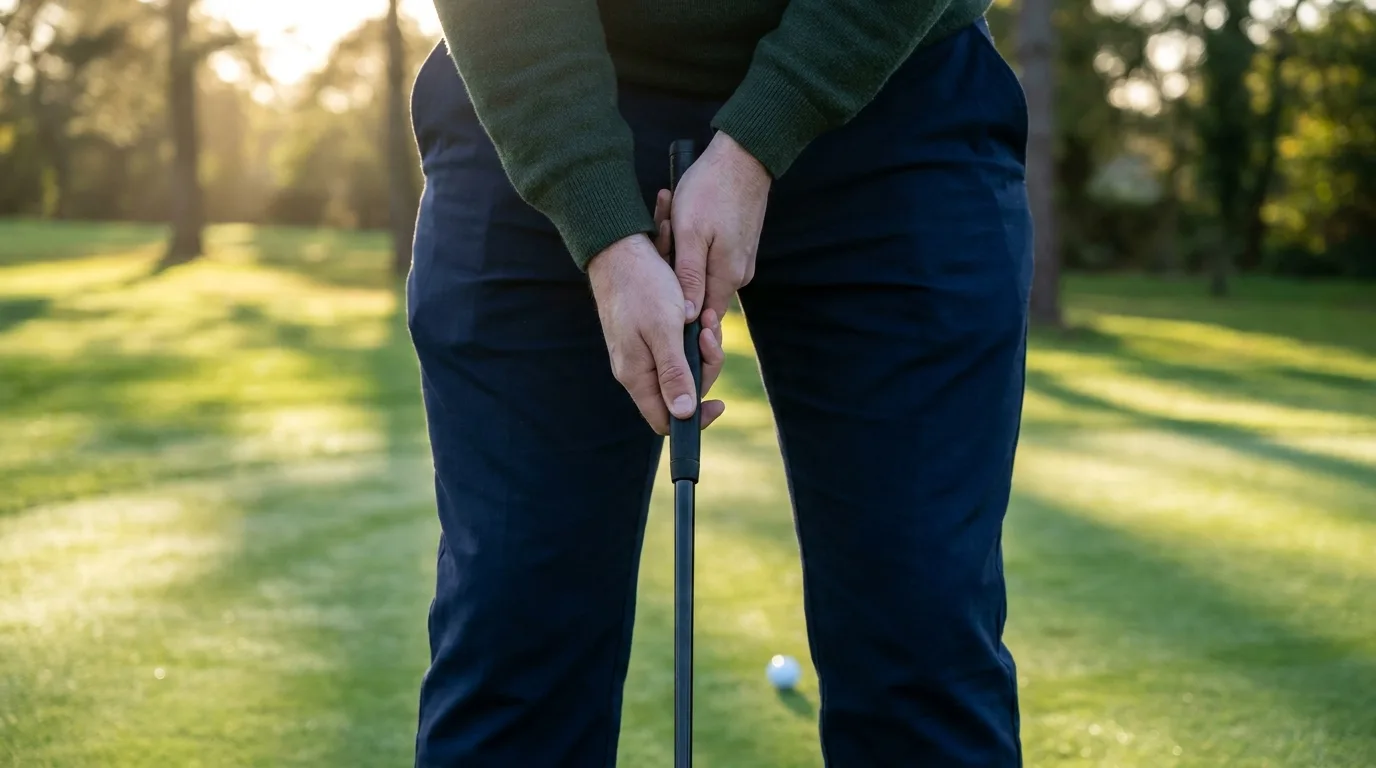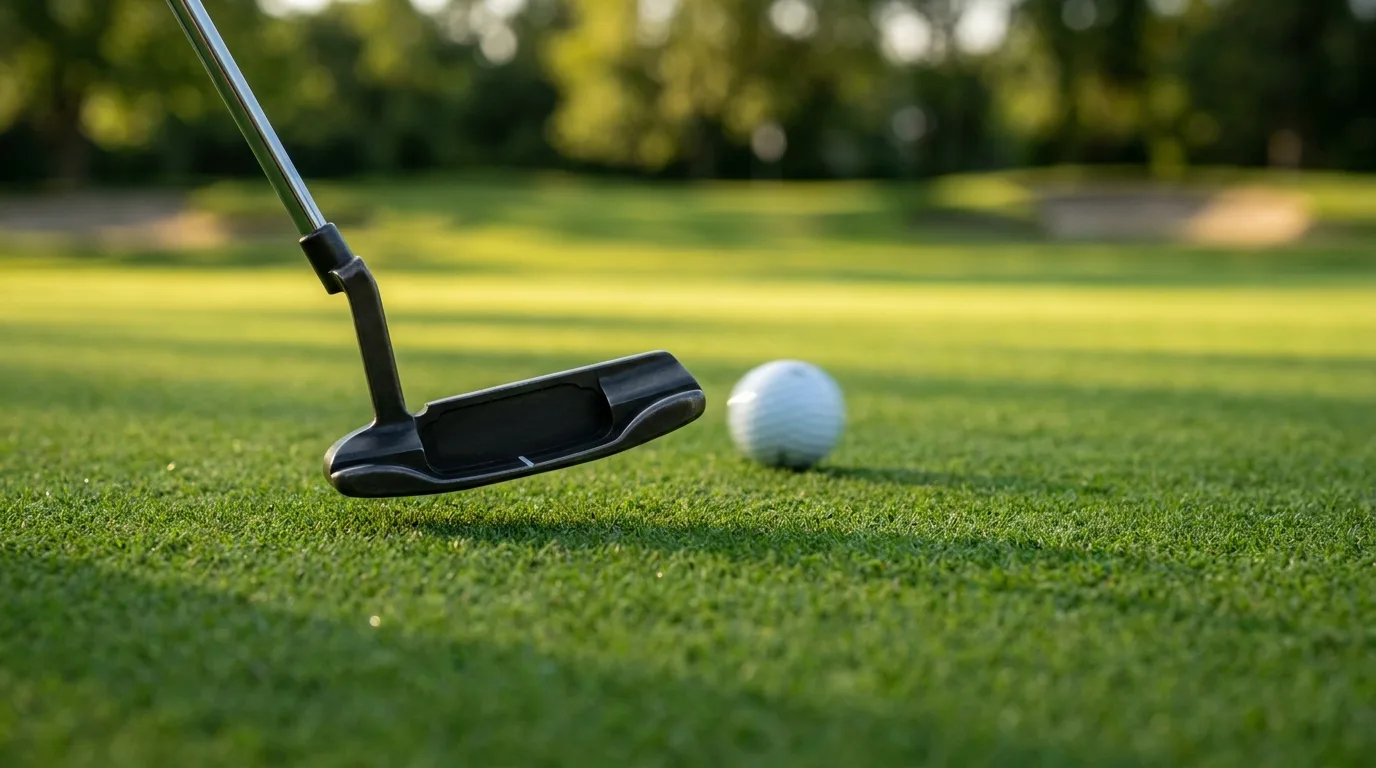
6 alignment stick putting drills using the sticks already in your bag
Most golfers bought a pair of alignment sticks for the range and then left them in the bag. They are just as useful on the putting green. Here are six drills, from aim to pressure, that need nothing but the sticks you already own and a few tees.
1. The rail: check your aim
Find a straight putt of about six feet. Lay one stick on the ground pointing at the hole, a putter-head's width outside the ball. Set up with your putter face square to the stick and look at where your eyes, shoulders and feet point.
Most golfers find they aim slightly off without knowing it. Hit ten putts with the rail in place so your eyes learn what square looks like.
2. Two rails: check your path
Lay a second stick parallel to the first, with just enough room for your putter head to pass between them. Make strokes without hitting either stick. The putter naturally swings on a gentle arc, so do not fight to keep it dead straight; just keep it inside the rails through the ball.
3. The start-line gate
Push two tees into the green about 12 inches in front of the ball, just wider than the ball. Use a stick behind the ball pointing at the hole to set the gate on your line. The ball has to start through the gate. This drill tells you more about your putter face at impact than anything else you can do on your own, because the start line comes mostly from where the face points.
4. The triangle: arms and putter as one
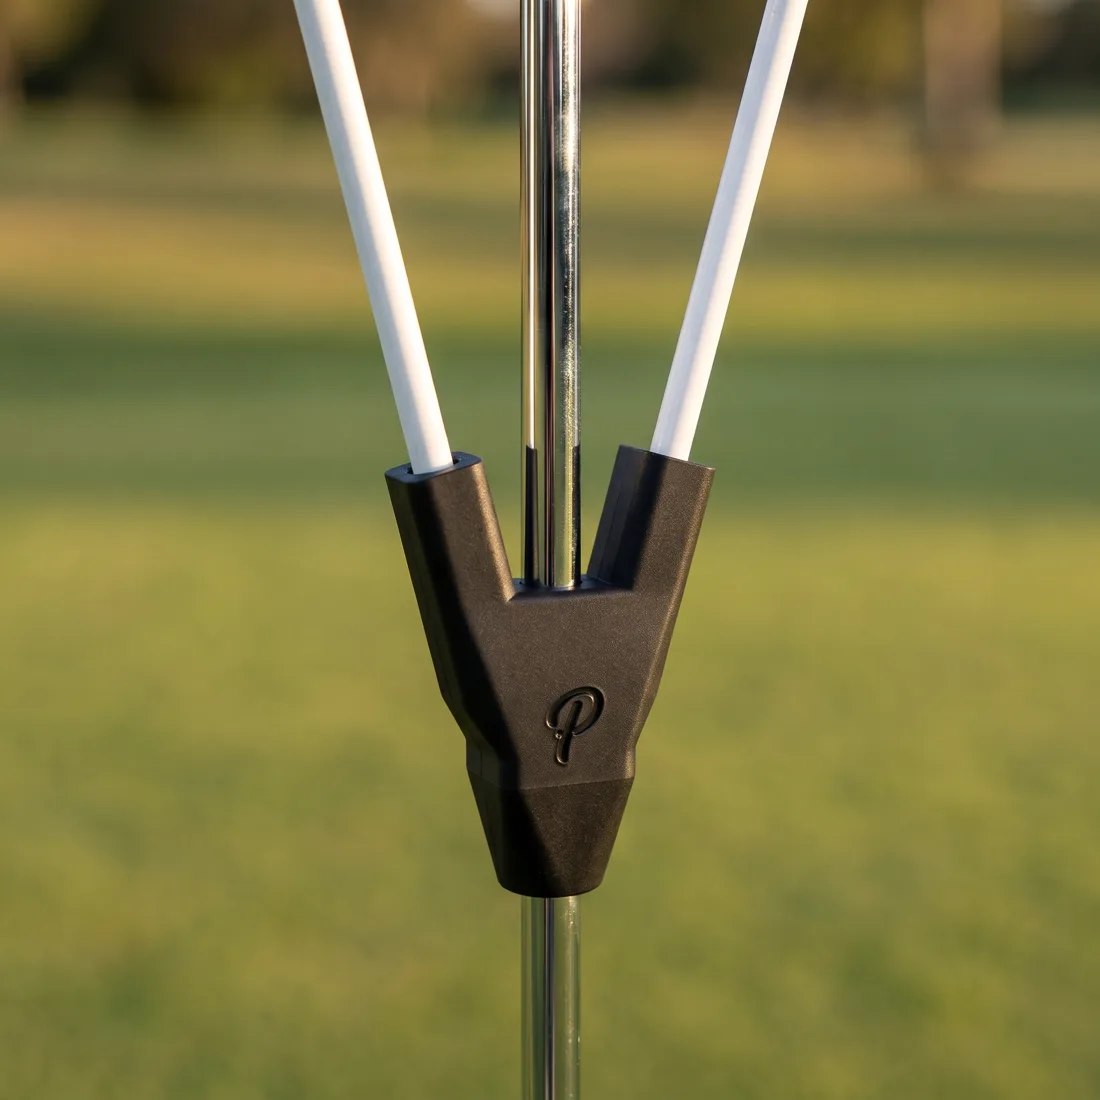
This is the drill most golfers have never tried. Fix two sticks to the shaft just below the grip so they run up the outside of your arms into your armpits. Take your normal grip with your hands over the sticks and rock your shoulders.
If your wrists hinge or your arms separate, the sticks come away from your body and you feel it instantly. You can tape the sticks to the shaft for a quick test, or use Pendulo, which clips onto the shaft and holds the sticks at the right angle with no tape or tools.
5. The ladder: distance control
Lay one stick across the green behind the hole as a backstop, about 18 inches past the cup. Putt from 10, 20 and 30 feet. The goal is to finish every ball between the hole and the stick: past the hole, never past the backstop. It trains you to give putts a chance without leaving long return putts.
6. The pressure test
Put the rail back down at four feet. You must hole 10 in a row. Miss one and start again from zero. It sounds easy and it is not, which is why it is useful: the last three putts feel like a putt to win a match.
How to put the six together
You do not need all six every time. A good 20-minute session looks like this:
- 5 minutes: rail and two-rail drills to check aim and path.
- 5 minutes: the triangle drill from three and six feet.
- 5 minutes: the ladder for pace.
- 5 minutes: the pressure test to finish.
Keep reading
If the triangle drill shows your wrists moving, start with how to stop your wrists breaking down. No green nearby? Try a 15-minute putting routine for home.

Practise the one-piece stroke with Pendulo
Clips to your putter below the grip and holds two alignment sticks up your arms, so you feel it the moment your wrists take over. 45 g, no tools.
Buy on Amazon UKQuestions golfers ask
What size are standard alignment sticks?
Most are about 8 mm thick and around 120 cm long, usually fibreglass. Any standard pair works for these drills.
Can I use alignment sticks on the putting green at my club?
Usually yes on the practice green. Lay them gently and do not push them into the putting surface. Check local rules if you are unsure.
Can I use alignment sticks during a round?
No. The Rules of Golf do not let you use them to help with alignment or your stroke during a round. They are for practice.